How to create & setup Workflows on Interakt?
July 12, 2023

Interakt users can now set up WhatsApp workflows themselves on Interakt. Workflows are a versatile tool that enables you to effortlessly create conversational flows, guiding your customers through various processes. By utilizing workflows, you can ask sequential questions, capture responses in variables, and export the data for efficient processing.
Steps to setup workflows on Interakt
Step 1:
Click on “Automation” from the Settings tab on Interakt. Post which users can click on the “Workflow” tab.
Step 2:
This is the Workflow homepage where users can read a brief on the module and watch a demo video explaining the same.
Step 3:
The homepage has 2 sections:
1. Above is the templates section where we have multiple templates specifically curated for your needs. It has options like lead generation, Vehicle Service Booking, etc.
2. In The below section one will be able to see all the workflows that you have created for your organization. One can also create a workflow from scratch using the “create new workflow” button on the top right corner.
Step 4:
a). Using the templates
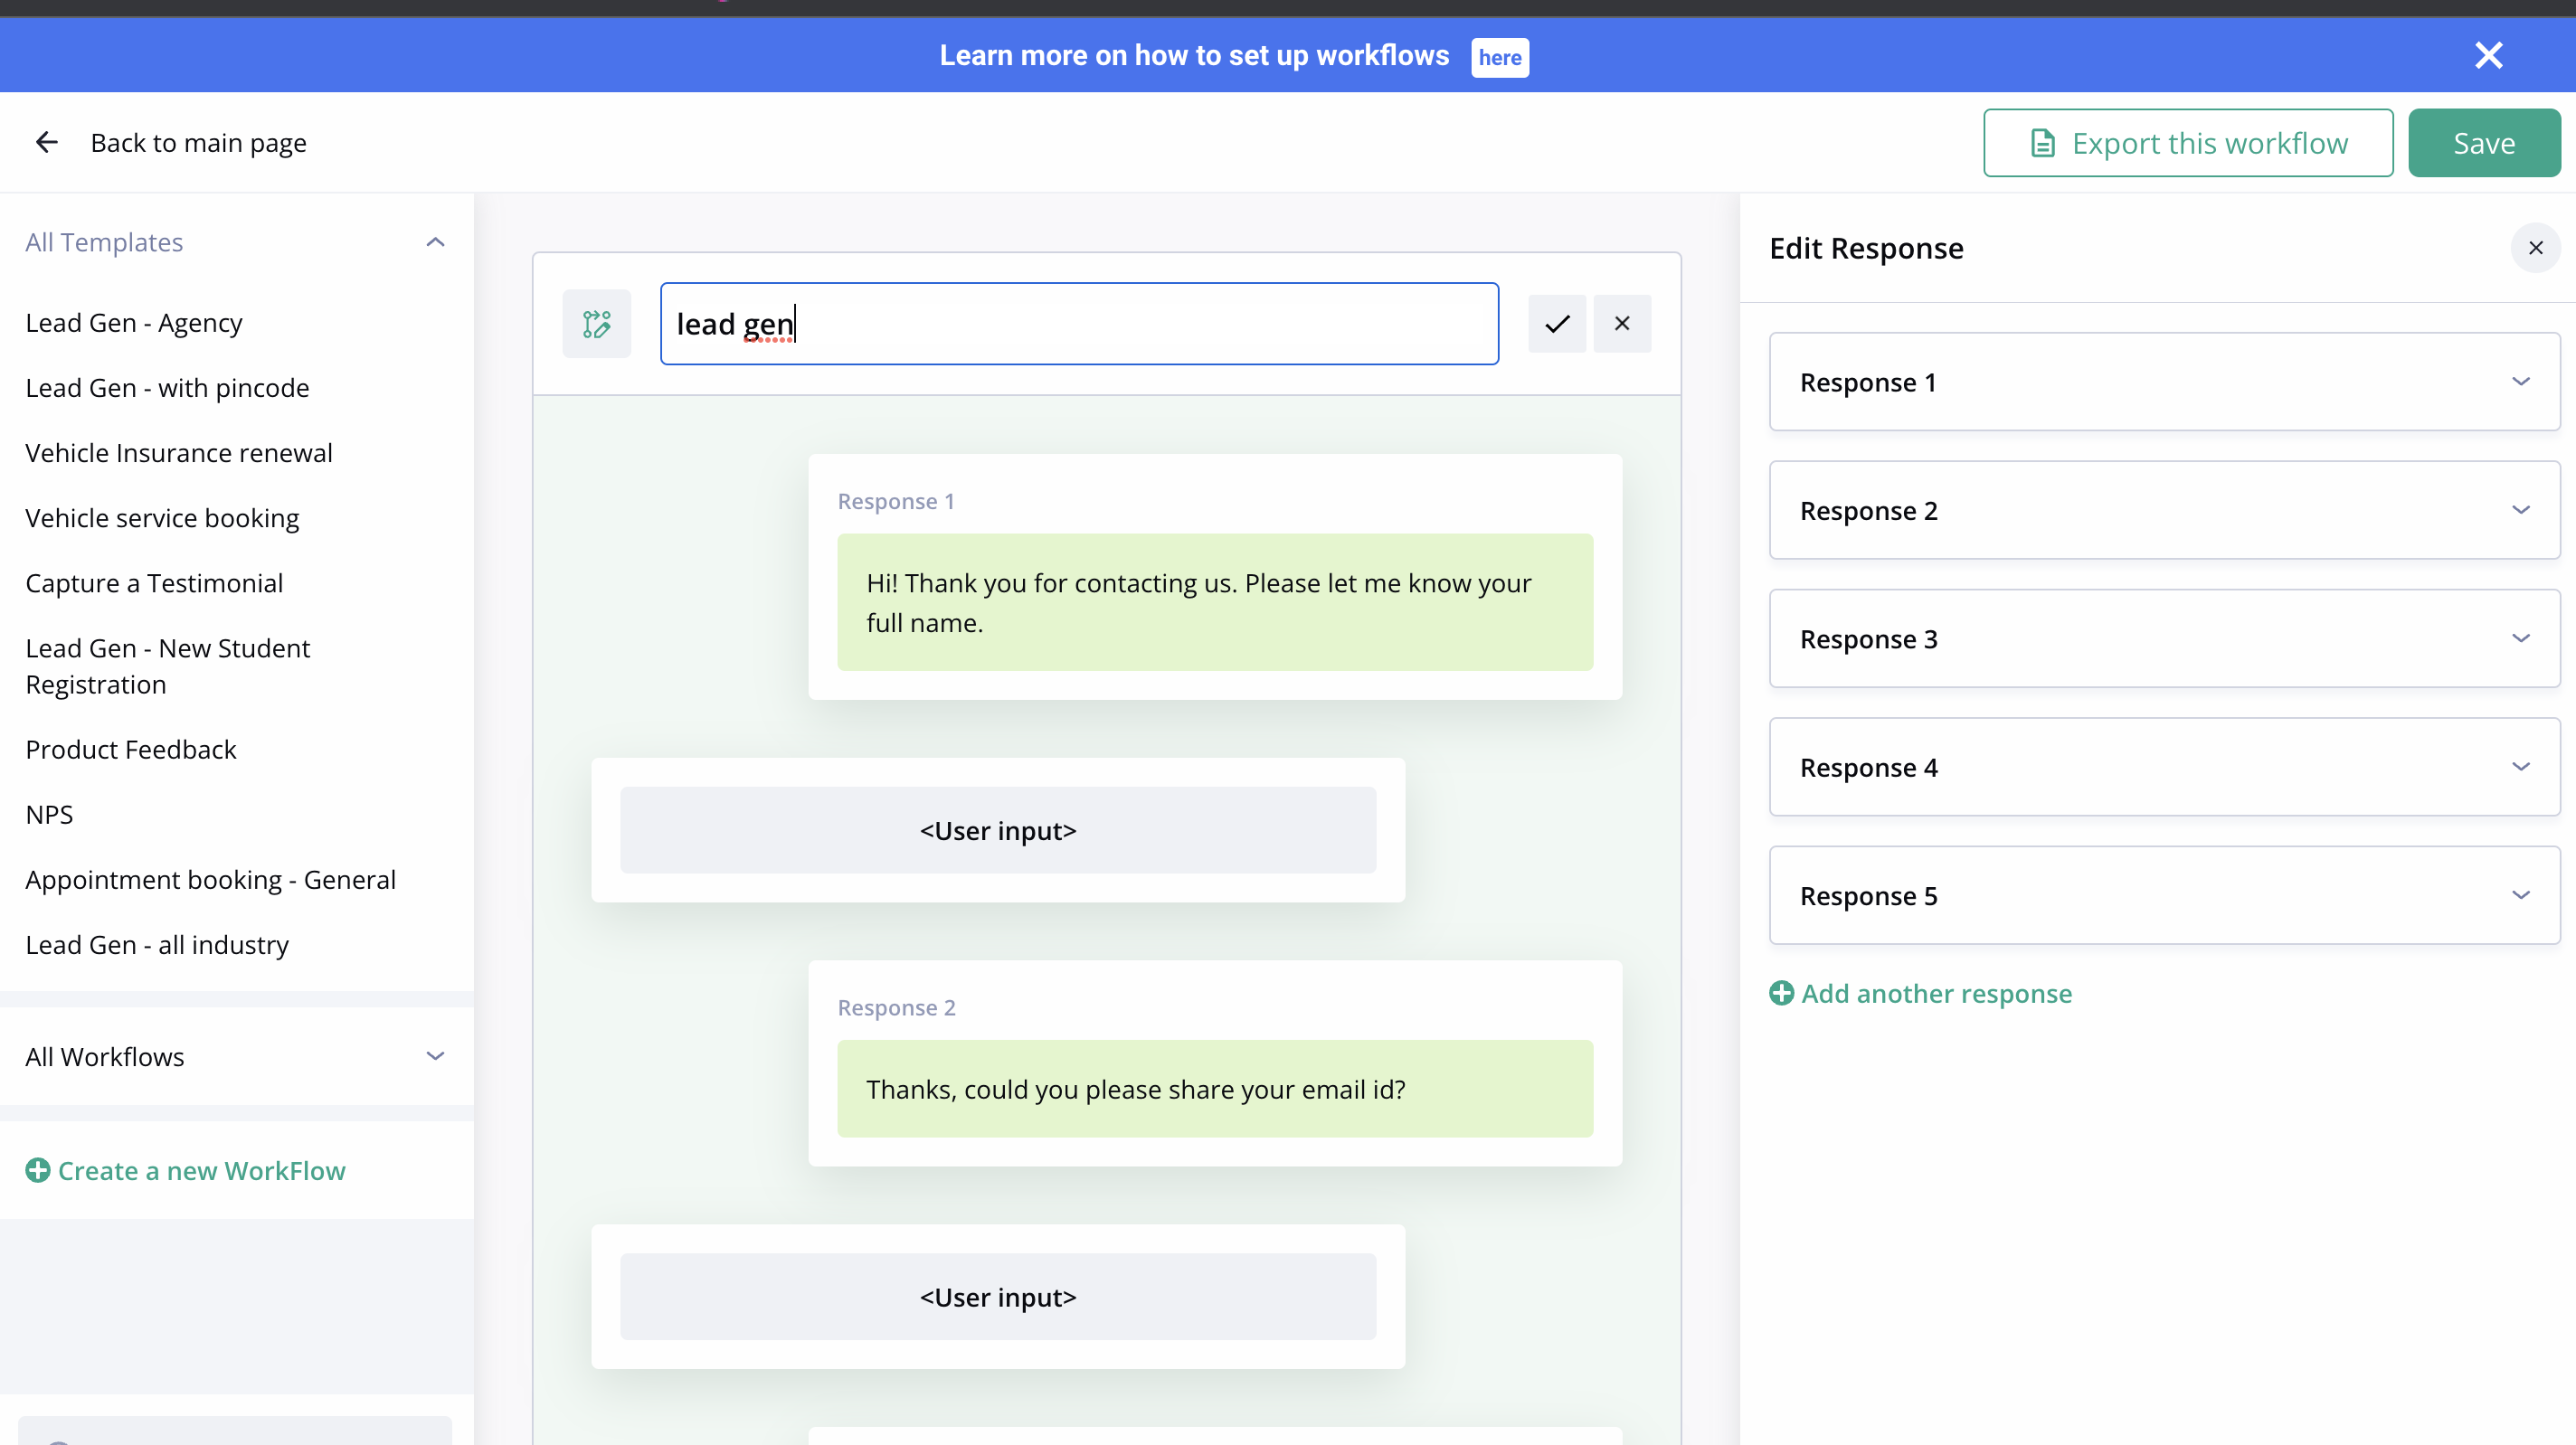
You can scroll through all the template options. If you want to see what is the exact flow, you can click on any 1 of the template and scroll through the middle section to see all the text in there.

i). You can also check the left section and explore the flow for all other readily available templates. Check all the templates and if you feel any of the templates is something that you wanted to run your campaign. You can click on “make a copy to edit” on the right and then rename it to the name that you prefer.
Creating a Workflow from Scratch
Workflows on Interakt help you to personalize your responses when interacting with the user. After collecting the user’s details during the initial conversation, you can save their details across parameters such as “name”, “email address”, “phone number”, “job title”. By doing this, you can engage with users in a personalized way. The data collected and saved by the user can be implemented in upcoming campaigns.
The user response can be saved either as a “User Trait” or “Workflow Variable”. Read on to find out the instance(s) when each of these should be used.
Composer Area
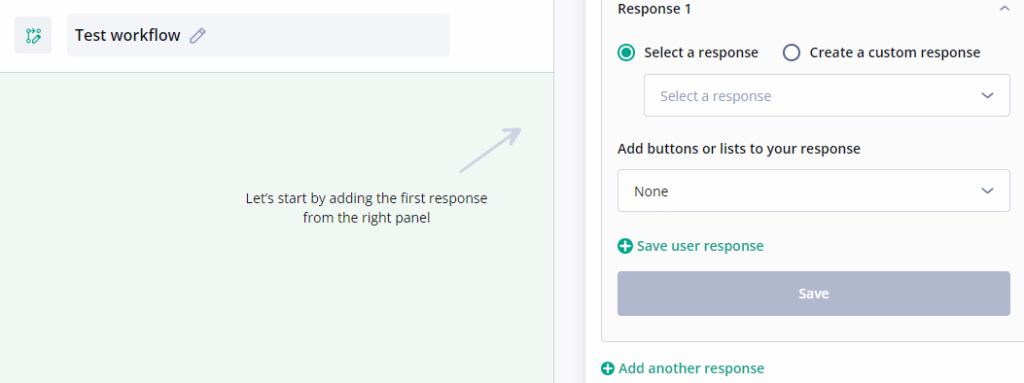
Once you click on “Create new Workflow”, you’ll enter the composer area to create the workflow. Name the Workflow appropriately. We’ve named it “Test Workflow”.
You can either select a response by clicking on the dropdown and choosing from the options available, or create a custom response message by selecting the “Create a custom response” option. In the message composer, you can create your message and add any variables by clicking “Add variable” as shown below.
Note: Similar to how we have in campaigns and FAQs, you can add value and fallback value below under the variables section. You can add more than 1 variable. Please make sure you select a variable for value as well as a fallback value.
Adding Buttons, Lists, and More
You can select if you want to add a button to the response or a list.
- To add buttons, select the button from the drop-down and then keep on adding buttons. You can add a maximum of 3 buttons. Each button on the list has 20 characters.
- One can have a maximum of 10 items on the list. Once you click on the list, a pop-up will open and one can go ahead and select from the list.
In fact, you can create a maximum of seven responses per workflow, and any number of workflows.
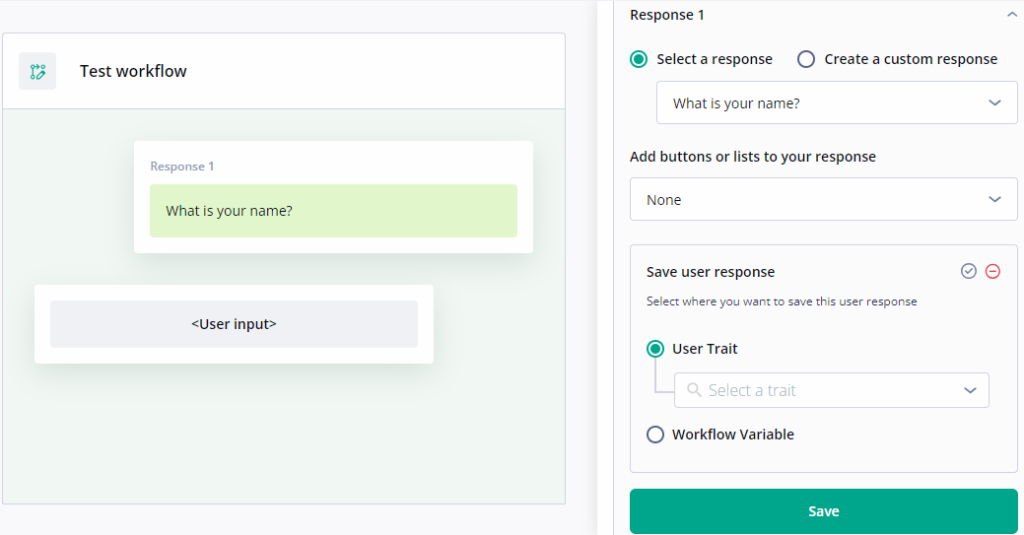
To proceed with one of the default responses, let’s select “What is your name?”
Once you’ve selected a response, it will appear as Response 1.
Saving the User Response
Now, you have to save the user response for future or each subsequent conversation. Click on “Save user response”. You’ll see two methods to save the user response: “User Trait” and “Workflow Variable”.
What is the difference between “User Trait” and “Workflow Variable”?
- “User Trait” should be used when you want to permanently store that value. For example, if it’s the username, phone number or email address that you want to save across the user’s record, which can be used in a campaign or another workflow, then you should select the respective “User Trait” and click “Save”.
2. If you want to store a temporary variable while responding to a user query (eg: the user asks for the shipping status of their order ID) and don’t need to save it as a permanent variable across the user’s record, then you should select “Workflow Variable”, name the variable, and save it for the second response.
After saving the “Workflow Variable”, when you want to send a response regarding the shipping status of the order (as per our example), select “Create a custom response”. In the message box, type in the message that you want to send and click on “Add variable”. Then, select “Workflow Variable” and choose the saved variable, which in our case is the “order ID”.
Steps to setup Workflows With Webhook
Interakt now offers users the option to trigger webhooks as part of the workflows they have set up. You can now easily integrate API calls into the workflows to interact with external systems and get or update data. The steps and methods to set up a webhook are explained below.
Note: Webhooks are available only for Advanced and Enterprise users.
Step 1: Define URL
In this step, you can request an API using any of the request type options: Get, Post, Put, or Delete. Input the URL in the field below “request type” to call the specific API.
You can also add a variable as part of the URL you’re requesting by selecting “Add variable” and choosing a “user trait” or “workflow variable”.
Step 2: Customize Header
After configuring the URL, the header has to be customized. Please note that we currently only support json by default. You can add extra header params if required.
Step 3: Customize Body
Once you’ve customized the header, the body of your response should be configured.
If, for example, you’re handling a user query about the shipping status of an order and you’ve collected the order ID in the previous step, it has to be passed to the API via Body params.
Please note that the custom values in the “Request body” field must also be in json format only, and have a character limit of 200.
Step 4: Save Response
After you’ve sent an API request and received a response, it needs to be saved as a user trait or a variable.
For this step, you must test the webhook for a sample response. Once you click on “Test Webhook” CTA, you’ll be shown a list of variables configured in your Request, Header and Body. You must enter test values into the respective variable fields to test the webhook and then it calls the API for a response.
Once you’ve received the sample response from the API, you must collect the relevant data such as “order ID” or “shipping status” and save it as a user trait or workflow variable. For this, input the corresponding key in the objectkey.keyname format from the API response.
Ex: if you want to store the shipping status, you have to use Order.shippingStatus in the “Entire response Body” above
{
“Order”: {
“orderId”: “xxxxx”,
“shippingStatus”: “in Transit”,
},
“userId”: yyyy
}
Step 5: Error Handling
If the API response showed an error in its output, you can craft a default error response, which will be displayed for all the APIs that are failing. Workflow bot breaks and the subsequent steps will not be executed.
Save
Ensure that you click “Save” after configuring the steps to call an API, as without saving the changes you make will be lost.
Note: Only URL is mandatory, other steps for setting up and triggering API are optional.
FAQ
How to use a “Workflow Variable” in your response?
The “Workflow Variable” should be used when responding to a user query, and the variable (eg: order ID) needs to be temporarily saved.
- To save a User response as a “Workflow Variable”, select the Save user response and choose the Workflow variable option. Name your variable suitably and click “Save”.
- To use a “Workflow Variable”, click on “Create a custom response”, and enter the custom message to be sent to the user. Once you’ve written the custom message, click on “Add Variable” and select the “Workflow Variable” option. In the dropdown you’ll see the workflow variable you’ve named and saved. Select it to complete creating the workflow.
2) Will my custom auto-reply work if any button is selected within the workflow?
Ans: If the workflow is triggered, the custom auto reply set for the same intent will not be sent.
3) Can I ask for documents or images from my customer?
Ans: Yes, you can. But if your customers send more than 1 response, then the workflow will break.
4) What if agent messages in between?
Ans: In this case, the workflow will break.
Table of content
2. Creating a Workflow from Scratch
a. Template gallery
b. Views for Workfows
i. Graph View
ii. Multi-step view
c. How to create a workflow in multi-step view?
d. How to create a workflow in Graph view?
3. What is a node?
4. Setup a message with Buttons
5. Setup a message with Lists
6. Setup a message with Media (image, video, files)
7. How to create branches
8. How to save user response
9. How to update “User Trait”
10. How to use “Workflow Variable”
11. How to Trigger webhooks
12. How to Export workflows
Get Started with Interakt Today
- Engage & Re-engage Prospects
- Drive Sales
- Deliver higher CSAT
- Support at Scale


