In today’s digitally forward world, there’s a business tool for every task.
It comes as no surprise that businesses switch between multiple tools and applications, day in and out to get work done.
Since the tasks carried out by these tools are all connected to each other, it would save a lot of time if businesses were able to connect these softwares!
This is where automation platforms like Integromat step in!
Integromat, with their drag-and-drop interface is a great solution to connect two softwares and automate workflows on the go!
The best part? All this can be done without a single line of code.
That’s right – we’re going to learn about connecting Integromat with Interakt & various CRMs and popular web applications.
What is Integromat and how does it work?
Integromat is a powerful online automation platform that enables users to connect various web applications and services together to automate workflows and streamline data integration. It offers a visual interface for building integrations, known as scenarios, without requiring any coding skills.
At its core, Integromat works based on triggers, actions, and modules. Here’s how it generally works:
Triggers: A trigger is an event that initiates the automation process. It could be something like receiving an email, a new entry in a Google Sheet, or a new tweet. Integromat supports a wide range of triggers from different applications and services.
Actions: Actions are the steps you want Integromat to perform when a trigger event occurs. These actions can include tasks like sending an email, creating a new record in a CRM, adding a row to a spreadsheet, or posting on social media. You can comb;ine multiple actions to create complex workflows.
Modules: Modules are pre-built connectors for specific applications and services. Modules define the available triggers and actions for each application, making it easier to integrate them into your scenarios.
Building Scenarios: With Integromat’s visual editor, you can create scenarios by connecting triggers, actions, and modules in a flowchart-like manner. You simply select the desired trigger, configure its settings, choose the appropriate action, and set up any necessary parameters. The modules handle the communication and data transfer between the different applications.
Testing and Deployment: Integromat allows you to test and debug your scenarios before deploying them. Once deployed, Integromat continuously monitors the triggers and executes the associated actions whenever the specified events occur.
Overall, Integromat provides a user-friendly way to automate repetitive tasks, synchronize data across multiple systems, and create custom workflows by connecting various online applications and services. After connecting Integromat with Interakt, it simplifies the WhatsApp integration process and reduces the need for manual data handling, ultimately saving time and improving efficiency.
What are the benefits of using Integromat for whatsapp automation?
Here are the benefits of using Integromat for WhatsApp Automation:
- Workflow automation for repetitive tasks.
- Integration with other apps and services.
- Multichannel communication capabilities.
- Data synchronization between WhatsApp and other systems.
- Personalized interactions based on customer data.
- Scalability and reliability in handling large volumes of messages.
What are connectors in Integromat and how do they work?
In Integromat, connectors are pre-built modules or applications that serve as the interface between Integromat and Interakt. Connectors enable you to connect and interact with specific applications, services or APIs within your automation scenarios.
Each connector represents a particular platform or tool and provides a set of triggers and actions that can be used in your scenarios. Triggers initiate the automation process when specific events occur in the connected application, while actions perform specific tasks or operations within that application.
How will connecting Integromat with Interakt help your business?
User data from your CRMs or softwares, when included in Interakt, will enable you to:
- Have more context while chatting on Interakt
- Easily set up automated WhatsApp business notifications via Interakt
To help you understand this better, we’re playing out a few common use cases where using Integromat integration with WhatsApp will help you create workflows between your CRM and Interakt.
What are some use-cases of WhatsApp business API integration with Integromat?
Use Case 1: Whenever a new contact is added in your CRM (like Salesforce, Freshdesk, Zoho etc), or let’s say a new user signs up on your online store (like Shopify, Magento, Woocommerce etc), WhatsApp to Integromat integration will allow this new user to be automatically added to your Interakt account.
Use Case 2: Now let’s say you make an update to any user’s contact details on your CRM, this will also be automatically reflected in your Interakt account.
Use Case 3: You can even get an event to be automatically added for a user on Interakt based on an action taken by your user on your online store (like selecting products, abandoning cart, placing order, making payment) or whenever you enter an activity related to that contact (like a call / meeting / deal) on your CRM.
How do I create a WhatsApp business API integration with Integromat?
Let’s now move on to the real deal.
Here’s a step-by-step rundown of how you can use Integromat to integrate workflows between your CRM and Interakt:
- Getting Started with Integromat
- Creating a Trigger
- Creating an Action
- Testing the Connection
- Setting the Connection Live
- Sending an Automatic WhatsApp Notification via Interakt
Getting Started with Integromat:
You can create a free account on Integromat, or choose any of their paid plans, starting from $9 per month. In a free account, you will get 1000 operations, while the $9 plan will give you 10,000 operations per month.
What does operations imply here?
So it works like this – a lead that’s added in a CRM gets automatically added on Interakt and this in turn would be counted as 2 operations.
Below is the basic flow in Integromat:
- Firstly, you need to specify a Trigger that will take place in your Software – Integromat will then lookout for that trigger.
- Whenever the trigger happens, Integromat will execute an Action. The Action would be an API call to Interakt’s API endpoint.
We’re going to dive deeper into this and cover all the steps involved in :
- Creating a Trigger – The Trigger steps will vary depending on the software you have chosen.
- Creating an Action – The Action steps will be uniform. While specifying the Request Content of the API call, you will be required to select the particular fields (from the software with which you are integrating) whose values need to be mapped to the parameters in the API call. You will have to take care to select the right fields. We have shown the fields you should select while integrating with Zoho.
Here are the steps to create a Trigger
- In your Integromat account, create a New Scenario by clicking on the ‘+ Create a new scenario’ button on the top right.
- Select the app that you want to integrate with.
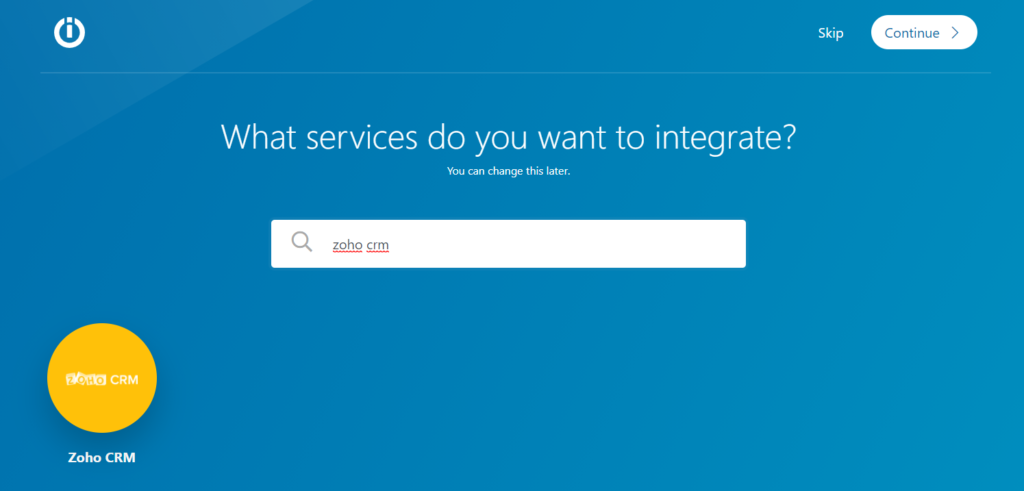
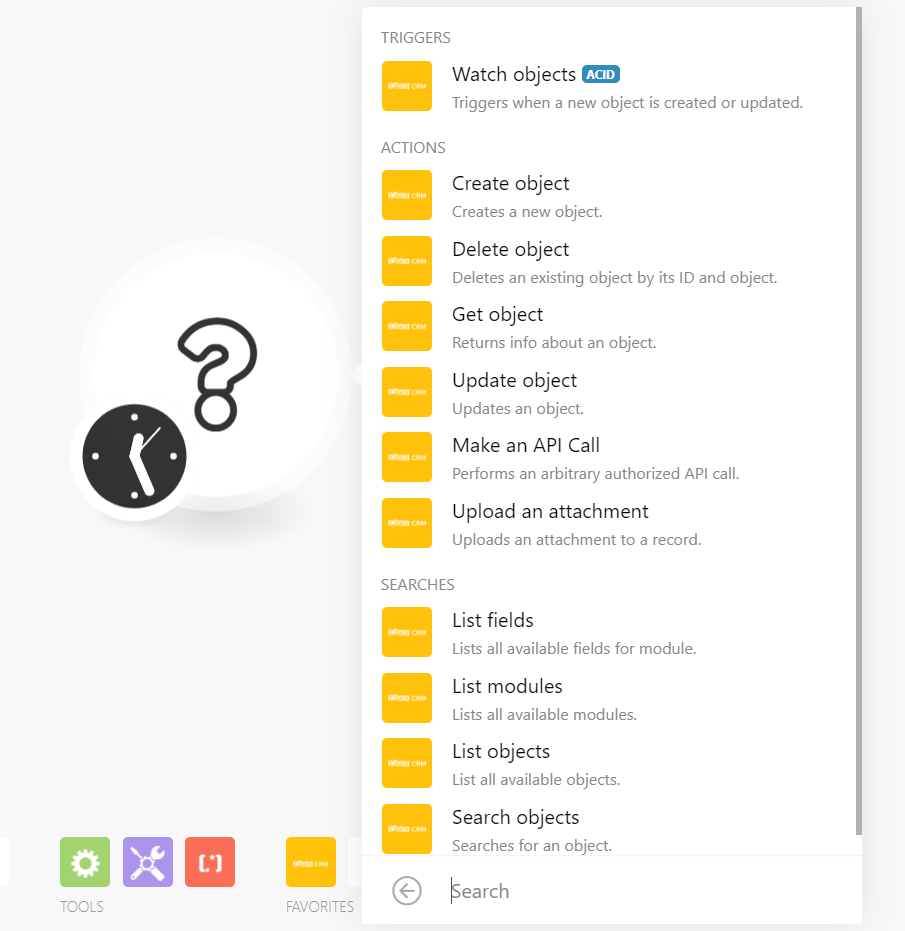
- In the ‘Scenario Creation’ page, click on the icon of the app which you wish to integrate & set a trigger. For example:
– In case of Zoho CRM, choose the trigger as ‘Watch objects’ – later you can select a particular Module (like Contacts, Calls) within which the object will be watched.
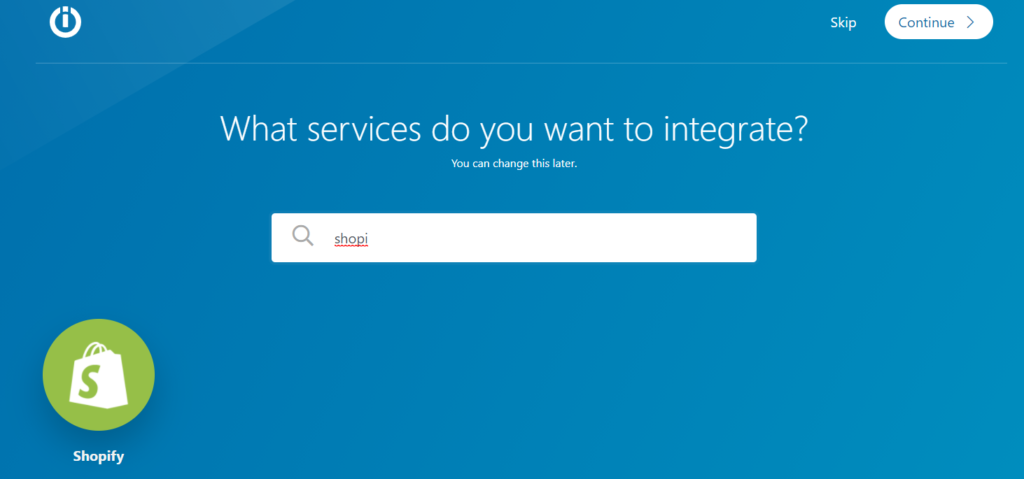
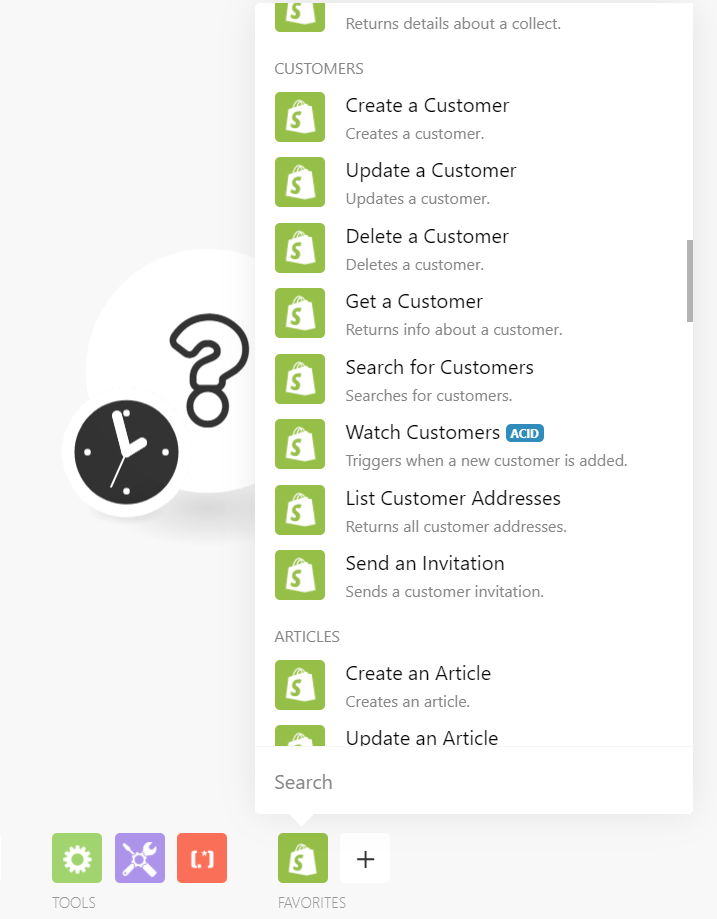
– In case of Shopify, examples of triggers which can be selected are:
- ‘Watch Customers’ (if you want to send customer details to Interakt), or,
- ‘Watch Orders’ (if you want to send details of an order placement to Interakt)
- ‘Watch Abandoned Checkout’ (if you want to send details of an abandoned check out to Interakt)
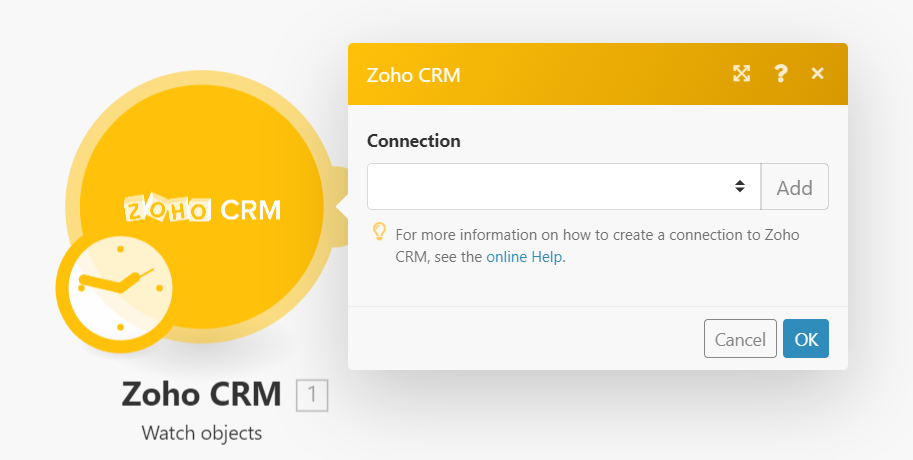
- Then connect your software’s account to Integromat.
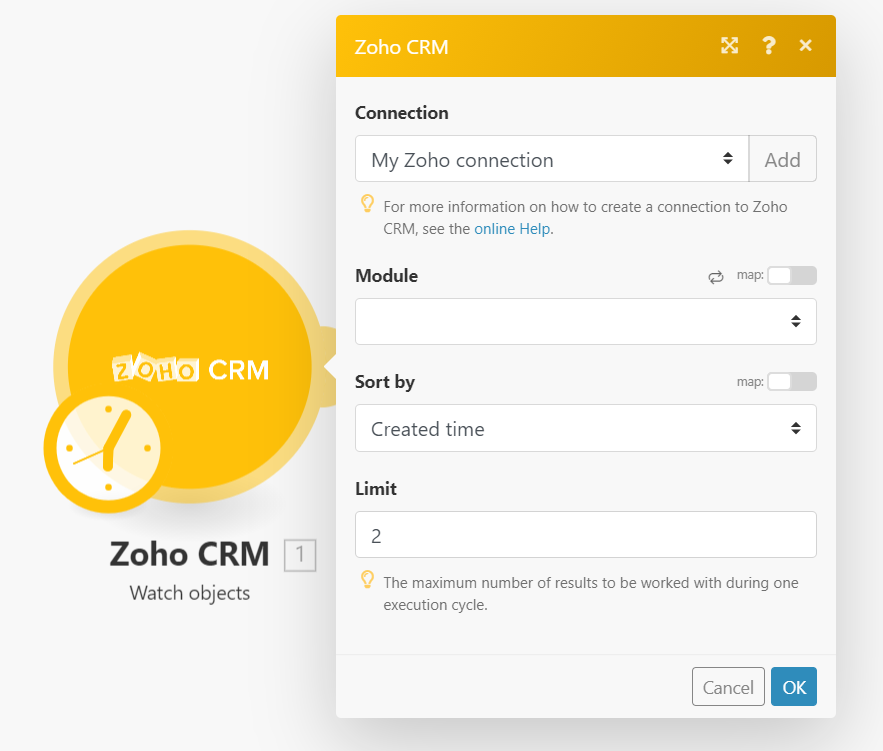

- After your account has been connected, you might need to select a module from your CRM / store wherein the Trigger will be watched (for ex – in the case of Zoho, the selected ‘Module’ could be ‘Contacts’ – selecting ‘Sort by Modified time’ will ensure that whenever a contact is modified, it will generate a trigger on Integromat and the corresponding contact modification will also happen on Interakt).
Creating an Action
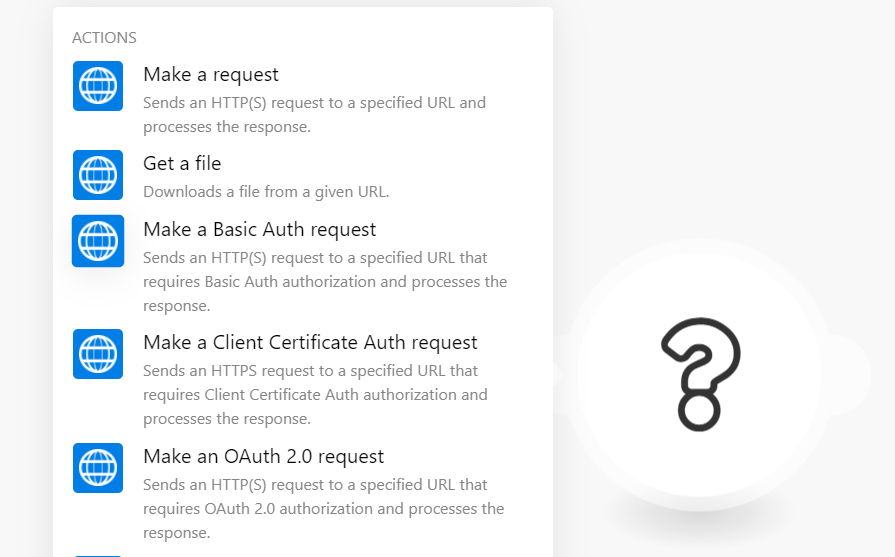
1. Click on Add another module
2. Search for ‘http’
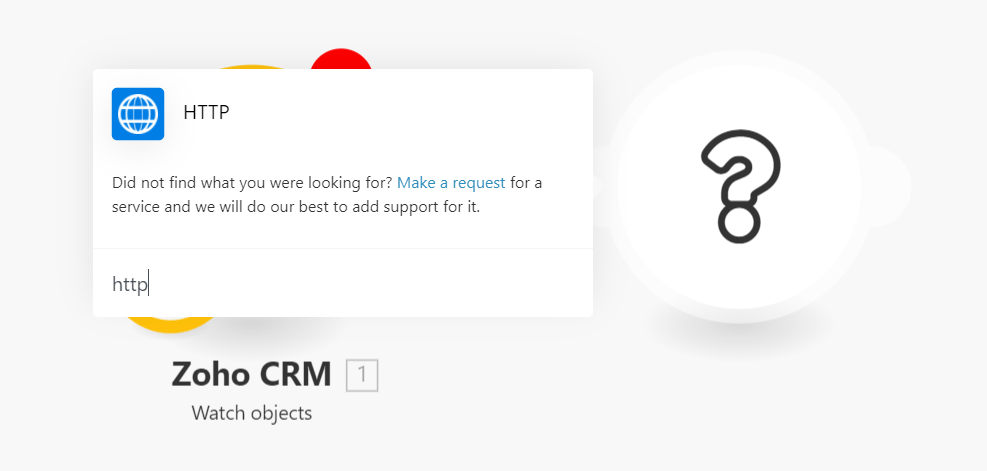
3. Select ‘Make a Basic Auth request’
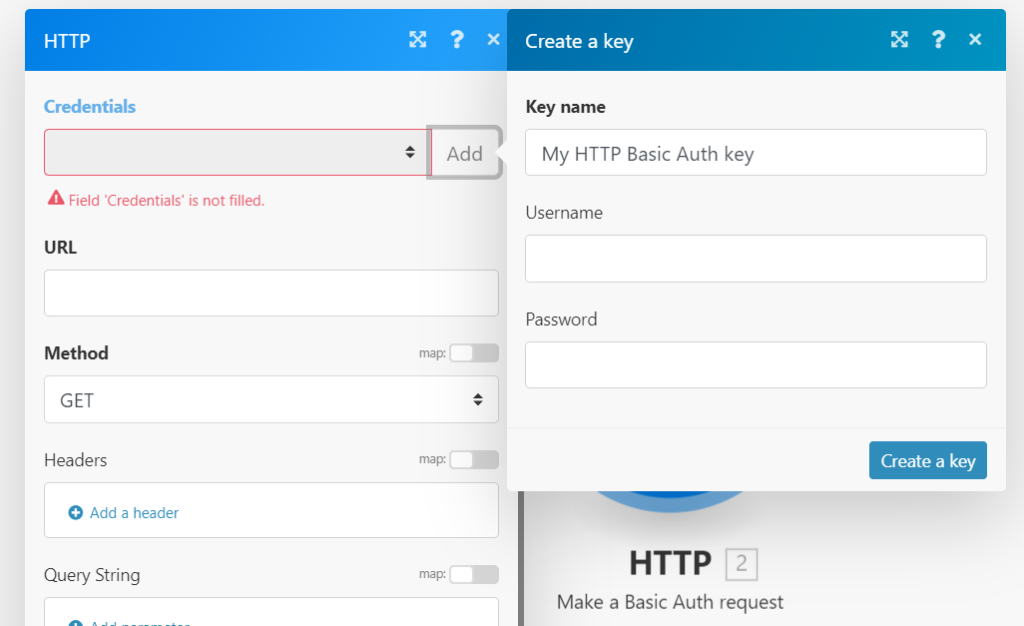
4. In Credentials, username should be the Base 64 decoded API Key (remove the “:” at the end of the Base 64ed key) and password should be left blank.
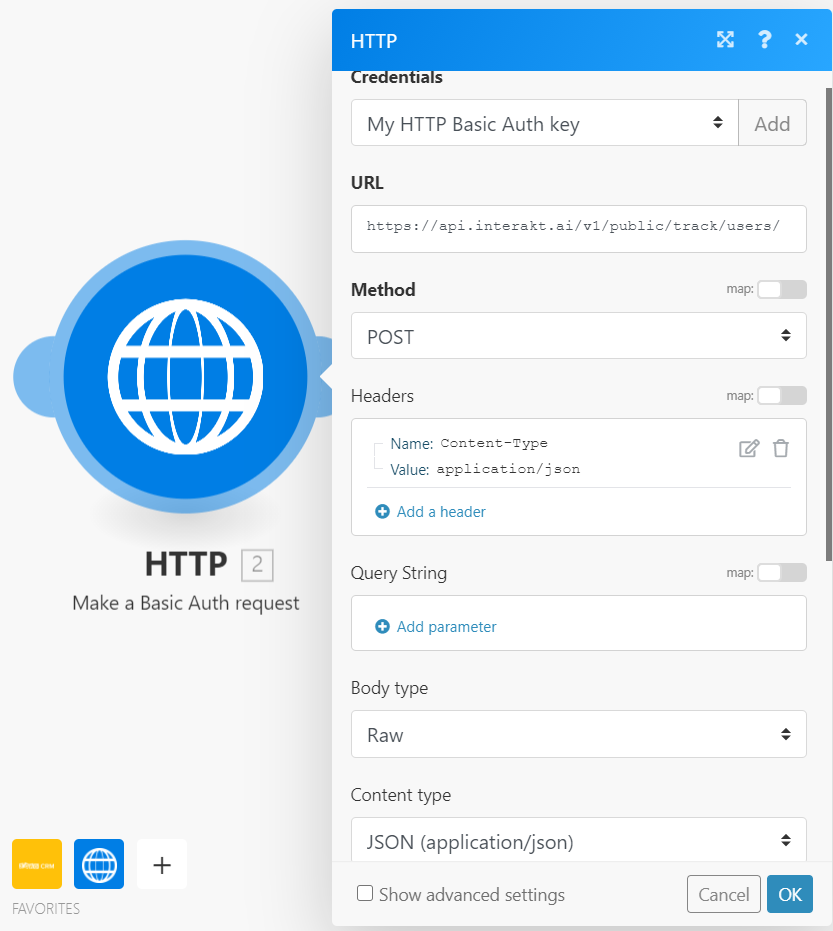
5. In the URL field, insert the url of our API endpoint:
If you are looking to add users (added in your crm / software) to Interakt https://api.interakt.ai/v1/public/track/users/
If you are looking to add events for a particular user (added in your crm / software) to Interakt
https://api.interakt.ai/v1/public/track/events/
6. Select POST Method
7. Headers – specify Name as ‘Content-Type’ and Value as ‘application/json’
8. Select Body Type as Raw
9. Content type should be selected as JSON (application/json)
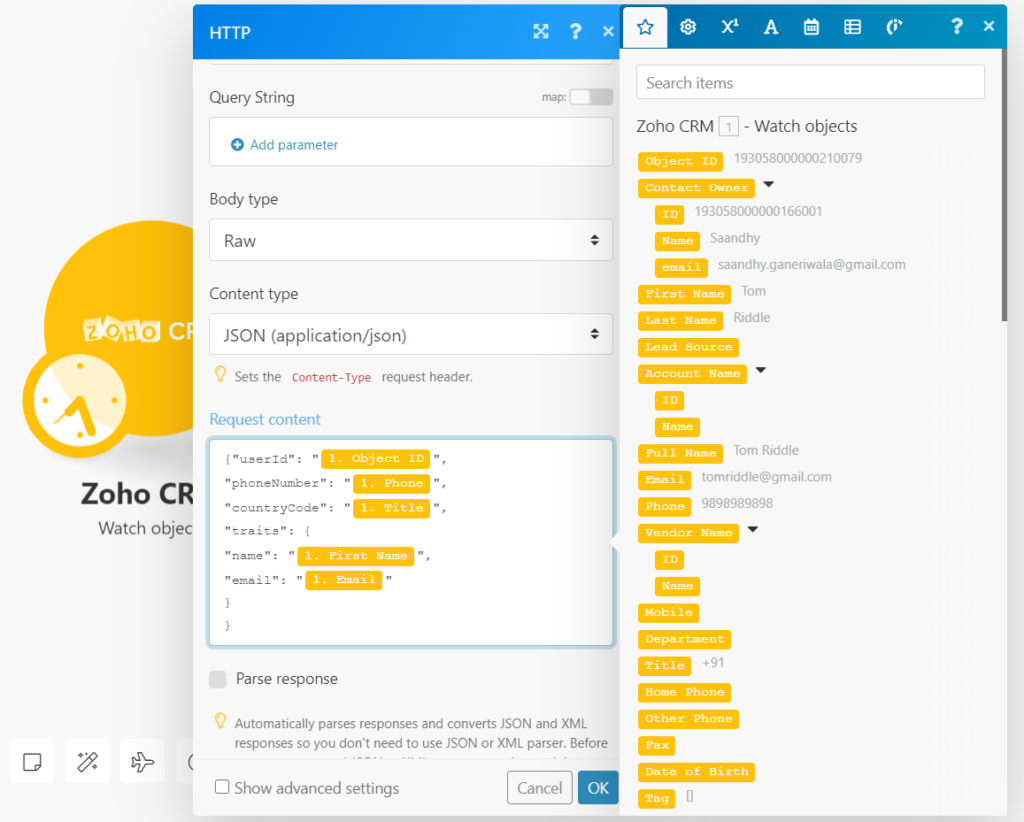
10. Request content:
If you are adding a user:
{“userId”: “X”,
“phoneNumber”: “Y”,
“countryCode”: “Z”,
“traits”: {
“name”: “A”,
“email”: “B”
}
}
• X, Y, Z, A, B are all fields in Zoho / other software, whose value will be taken as the value for the parameters in the API call ie “userId”, “phoneNumber”, “countryCode”, “name”, “email”.
• You may choose the fields (X, Y, Z, A, B) as per your use case.
• Specifying either of “userId” or (“phoneNumber” & “countryCode”) is mandatory.
• We strongly recommend specifying the “userId” since the same can be referenced if you want to add an event for the same user.
• You can add as many traits as required and map the trait values to corresponding fields in your software (shown below for Zoho).
- If you are adding an event.
{“userId”: “X”
“event”: “call made”,
“traits”: {
“startime”: “S”
}
}
• Make sure X = the field which you mapped against the parameter ‘‘userId’’ when you added this user to Interakt (via triggering of the scenario for adding the user)
• You can name the “event” as you wish. Here the “event” name is given as “call made”.
• You can give as many traits for the event as you wish. Here we have specified one trait “startime” which is mapped to S i.e. the “Call Start Time” field in Zoho.
Testing the Connection
- Now before you take it live, you need to test if the above connection works or not. For this, you could:
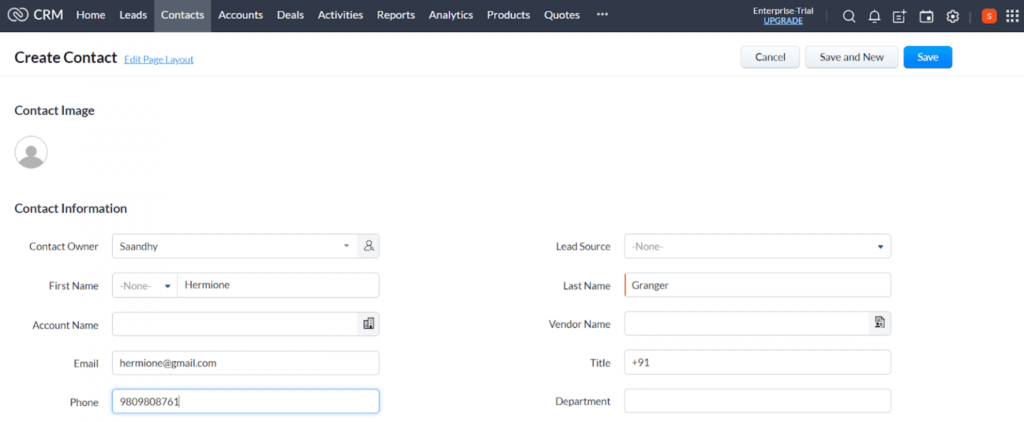
• add a new user in your CRM / get a new user to sign up on your store (for example: here we show what happens when a new contact is created in the Contacts Module of Zoho).
OR
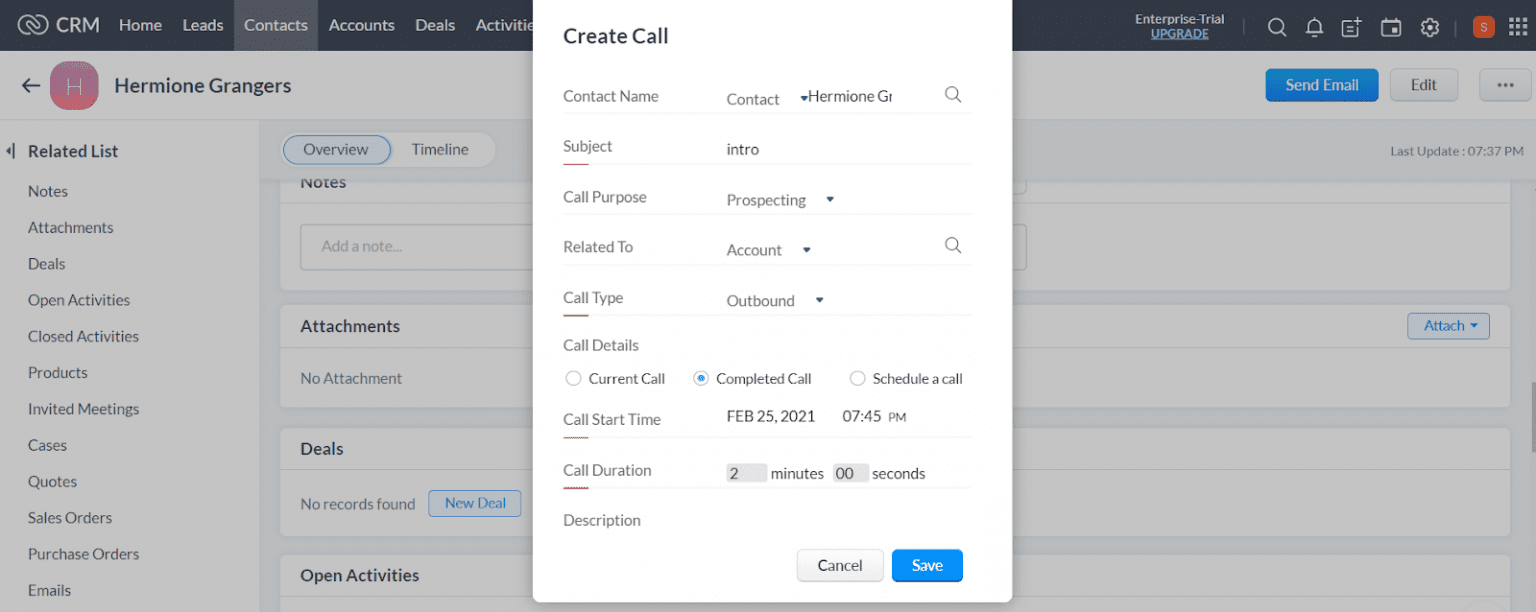
• Add a new action for the user in your CRM / get the user to take an action on your store (for example: here we show what happens when we add a new Call for the contact that we created in Zoho in the previous step)
• Then click on ‘Run once’ in Integromat (bottom left hand corner)
• You can check if the modules got executed or not.
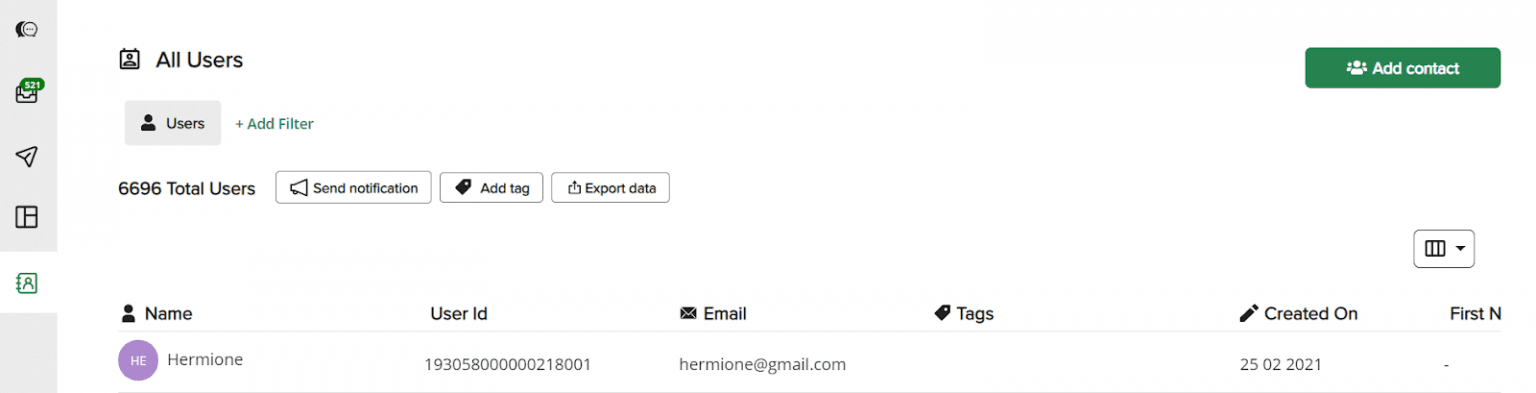
• You could also check the result on your Interakt account:
– refresh the ‘Users’ page to see if the new user got added there or not.
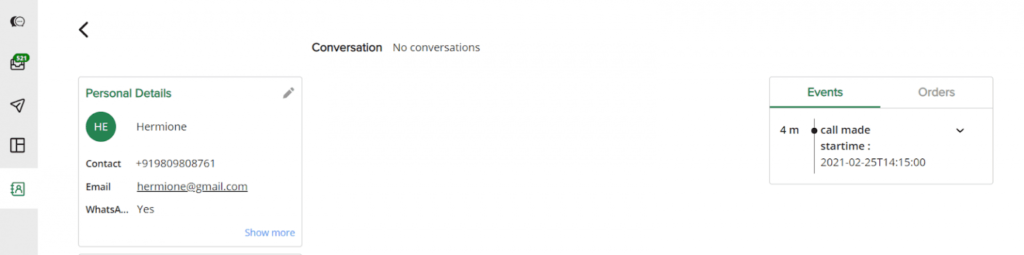
– Check the ‘Events Timeline’ for that user to see if the event got added there or not
If you want to check whether modification of the contact in your CRM / store translates into the contact being modified on Interakt, here’s what you need to do:
– Modify one of the field values of the contact you added (the field should have been used in the ‘Request content’ above).
– Again, click on ‘Run once’ in Integromat.
– Check if the modules get executed.
– Go to your Interakt account’s user page to check if the contact details got updated there.
Setting the Connection Live
Alright, we’ve reached the point where you need to set the above connection live. To be able to do this, you need to switch ‘Scheduling’ to ‘On’. In ‘Schedule Setting’ you get to select the intervals in which the scenario should be repeated.
Sending an Automatic WhatsApp Notification via Interakt
Now that you have set up the connection – let’s see how you can set up a WhatsApp notification to be sent out via Interakt for each of the below instances:
• when a new user is added to your Interakt account from your CRM / store, or,
• when an event is received in Interakt for a user from your CRM / store,
You will need to set up an Ongoing Notification with the correct filter conditions. You can easily set up ongoing notifications on Interakt by following these steps.
That’s how you can get started and take off with Integromat. With more than 100 softwares available to be connected to Interakt via Integromat, you have a host of options to automate your workflow and supercharge your productivity.
We’re here to help you get the ball rolling. If you face any issues in integrating any of your softwares to Interakt via Integromat, just ping us on our WhatsApp support number!